Installing Plugins#
Understanding Plugins#
Horus works with Blocks, which perform actions on the flow. To add more Blocks or extensions (additional views), users need to install Plugins. Plugins can be downloaded directly from the Plugin developer website and have the .hp (Horus Plugin) format.
If you are interested in building custom Plugins, please refer to the Developer guide section.
Installing a Plugin#
To install a Plugin in Horus, follow these steps:
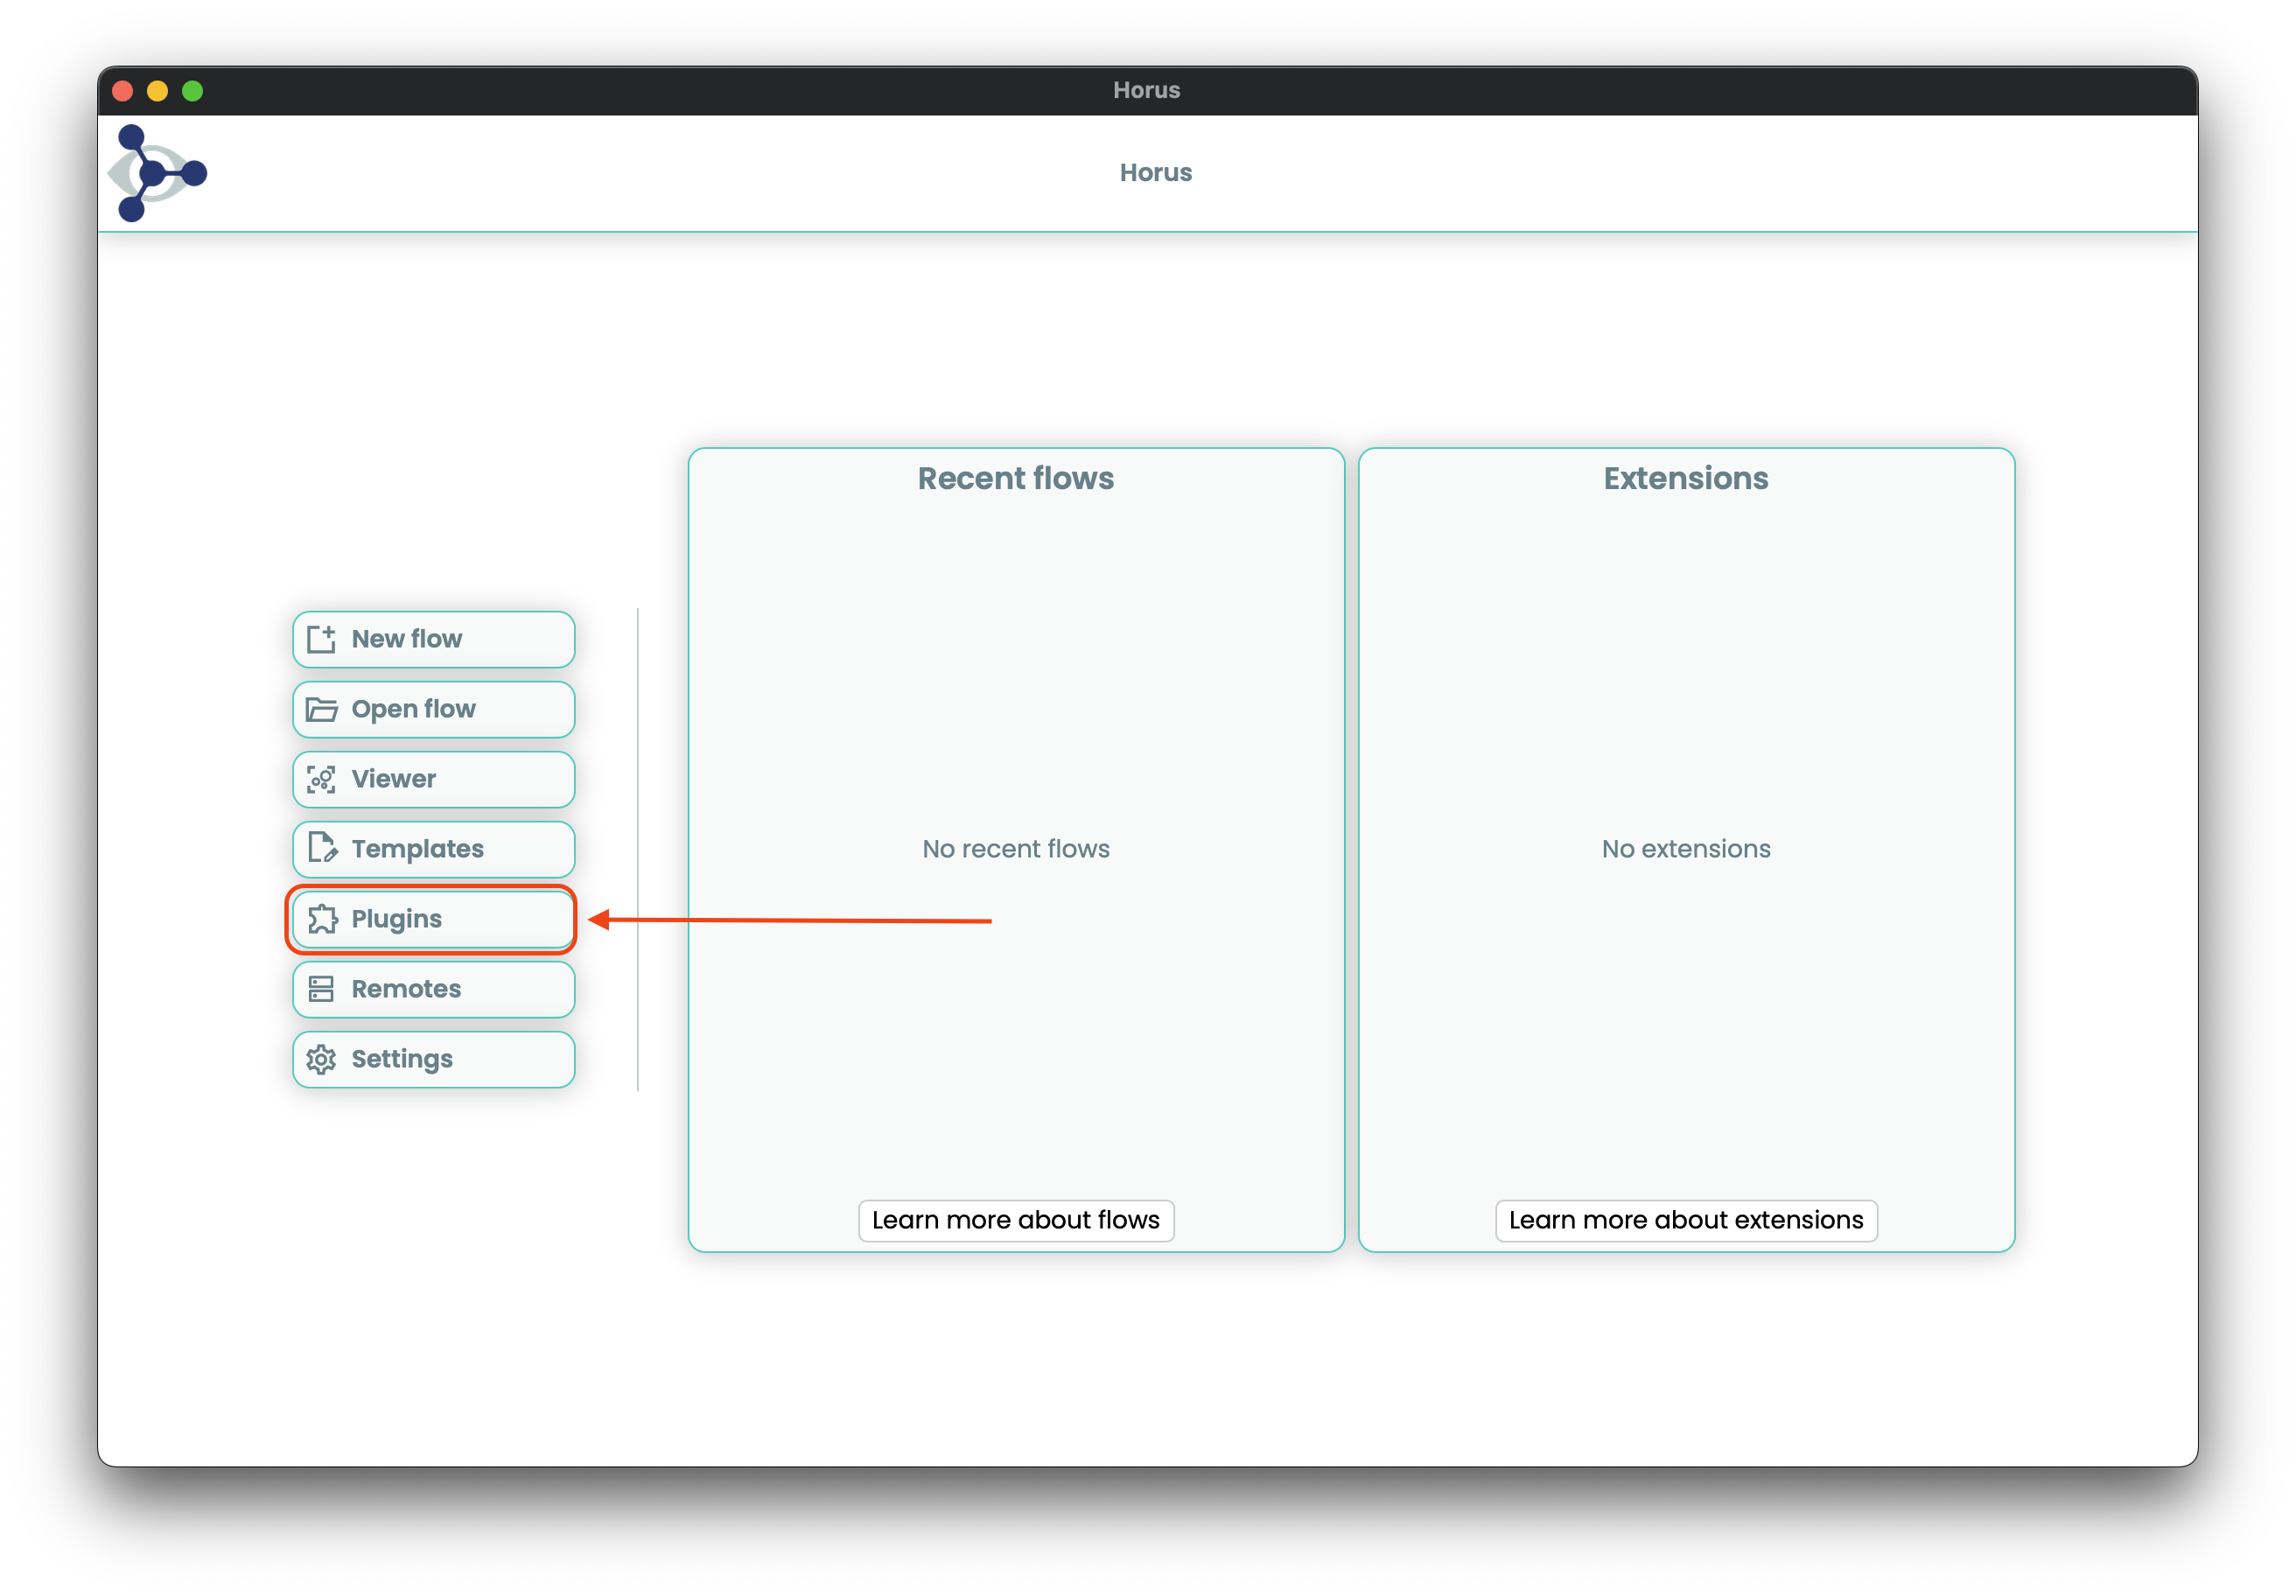
Open the Plugin Manager:
Go to the plugin manager within the Horus application.
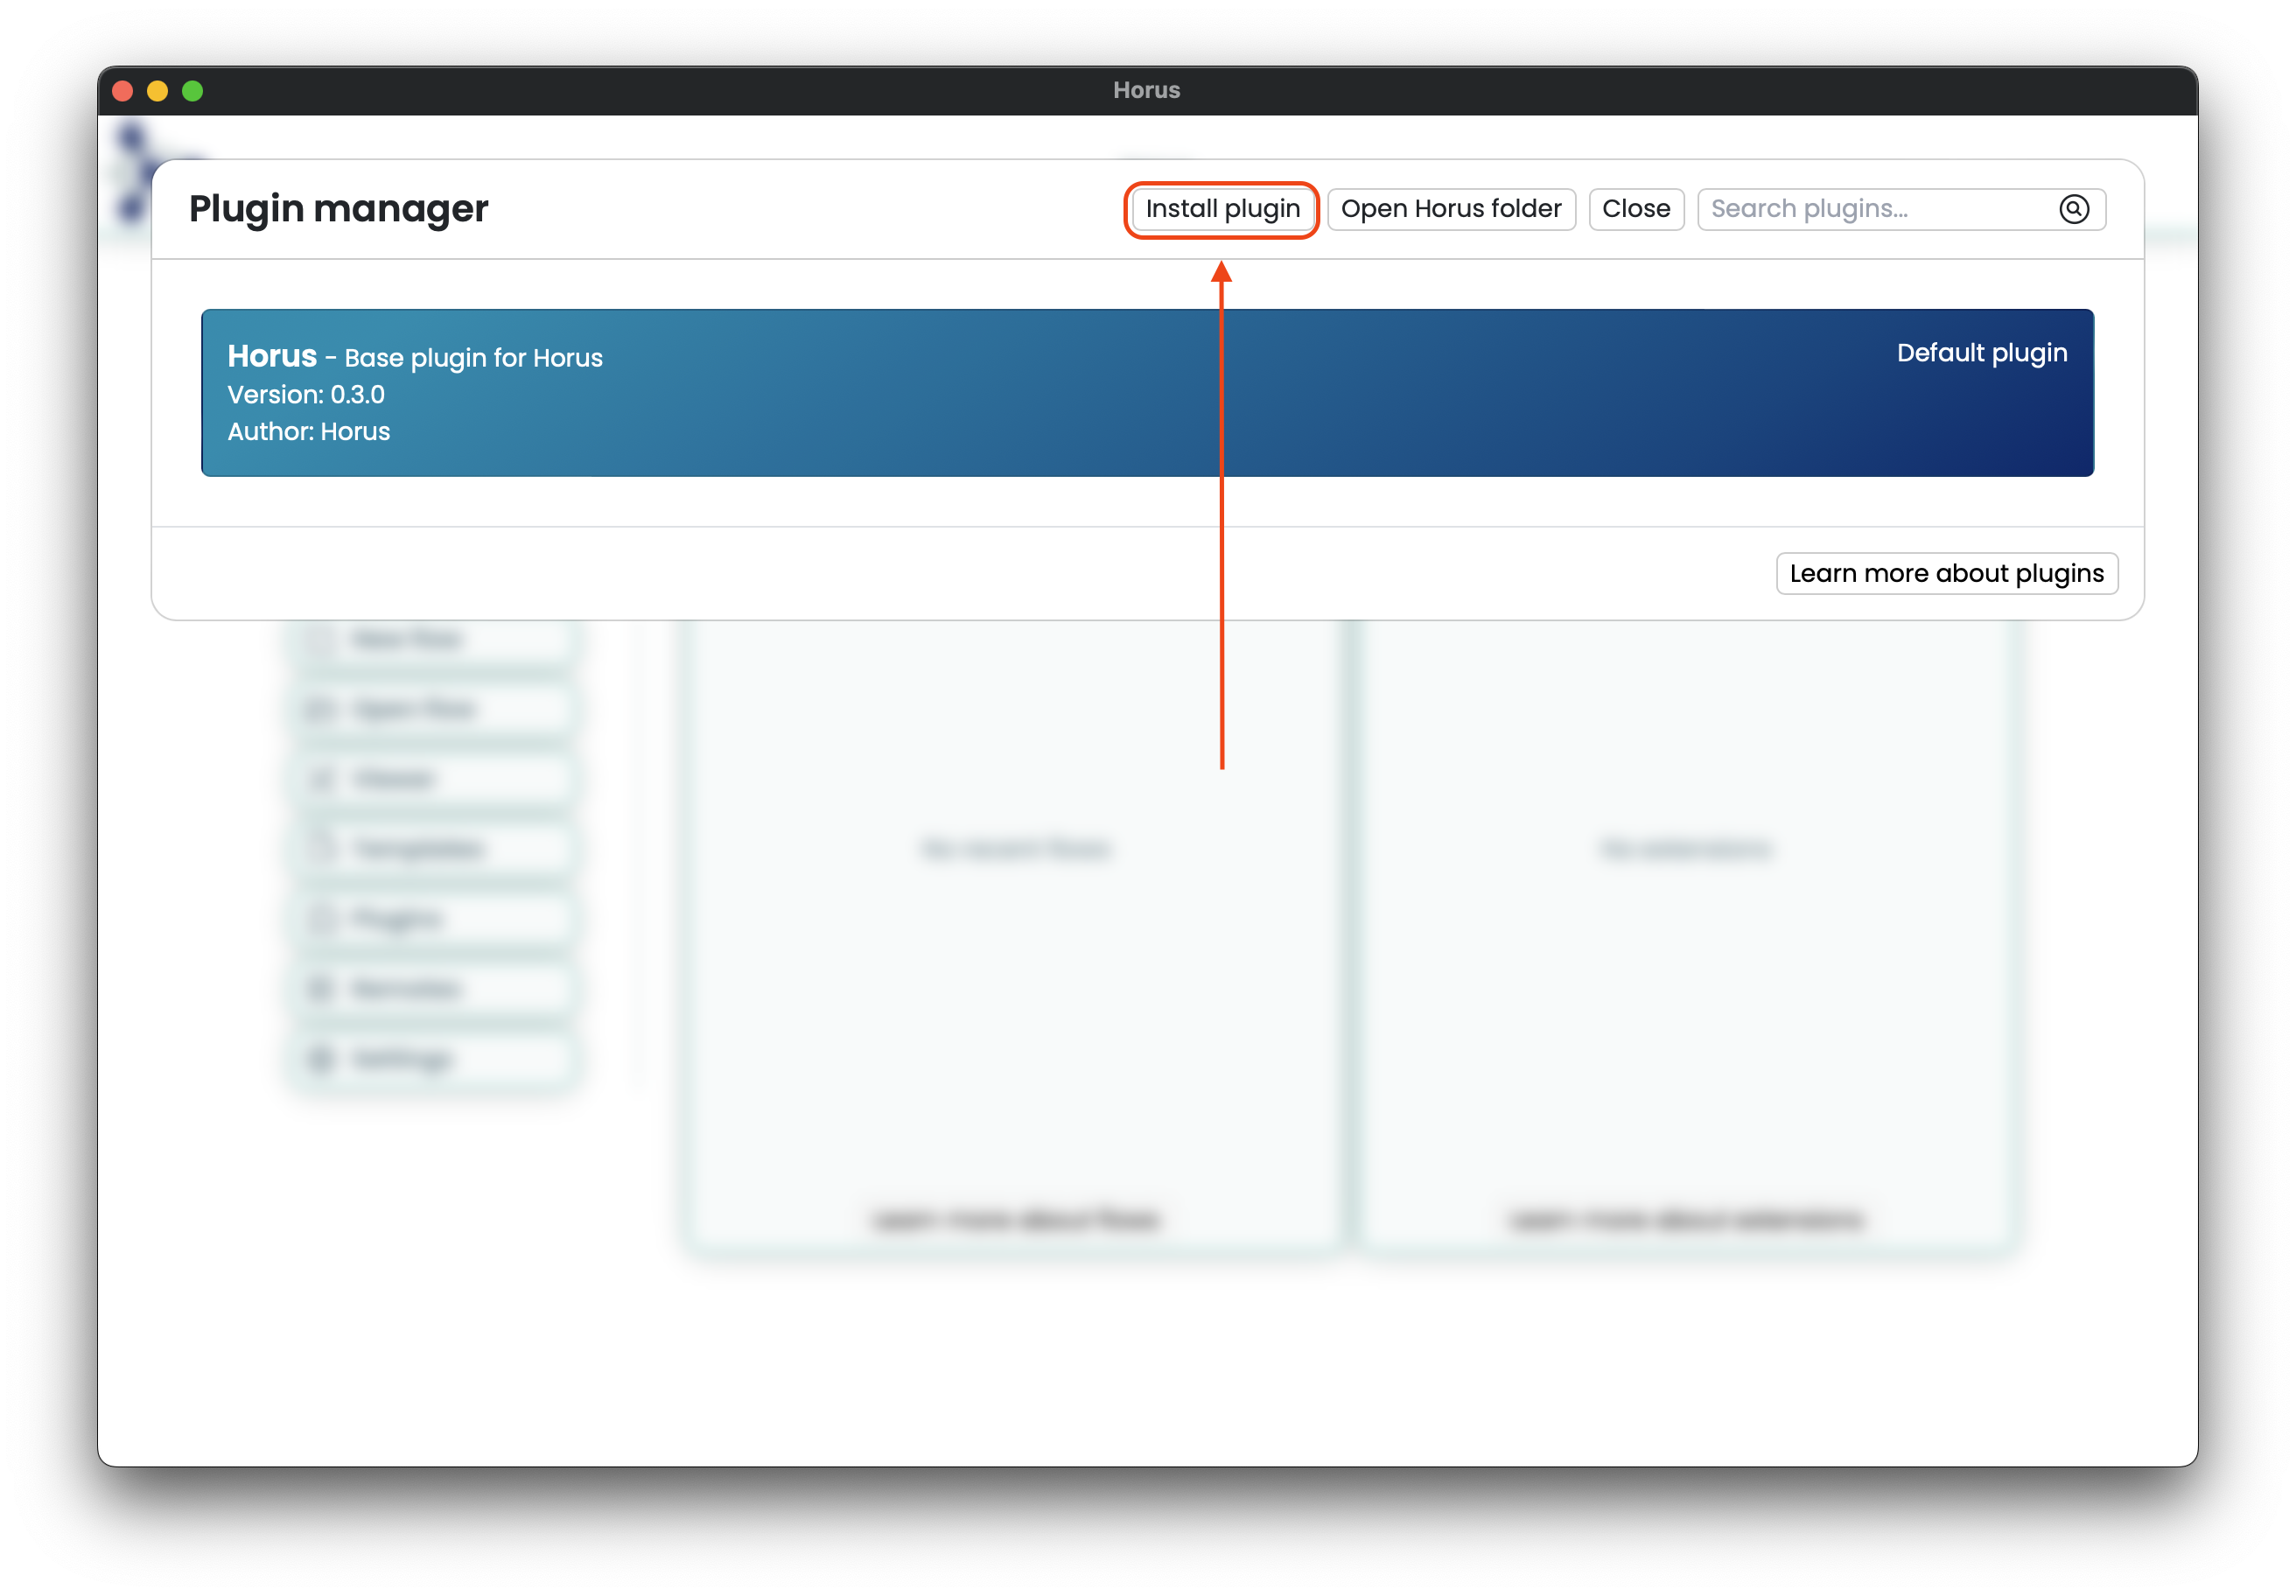
Install the Plugin:
Click on “Install Plugin.”
Browse for the .hp file you downloaded from the Plugin developer website.
Wait for the Plugin to install. If the installation appears to be stuck, please be patient as some dependencies may take a while to download and install.
Verify Installation (optional):
Check the Horus logs to verify if the Plugin is completely installed (only if necessary).
- Logs can be found at:
macOS: ~/Library/Application Support/com.bsc.horus/logs
Linux: ~/.local/share/com.bsc.horus/logs
Restart Horus (optional):
Some Plugins require the application to be restarted to function properly.
Example#
To install a Plugin named example_plugin.hp:
Download example_plugin.hp from the Plugin developer website.
Open Horus and go to the Plugins manager.
Click on “Install Plugin” and select example_plugin.hp.
Wait for the installation to complete. Check the logs if needed.
Restart Horus if prompted.